

Before you start
To get the most out of this guide, you will need to:- Either create an account in our managed instance or deploy your own hoop.dev instance
- You must be your account administrator to perform the following commands
Features
The table below outlines the features available for this type of connection.- Native - Indicates the connectivity happens through the Hoop command line (
hoop connect <connection-name>) or acessing the protocol port directly on the gateway. - One Off - This term refers to accessing the resource from Hoop Web Console.
Supported Clients
How to Use It
This feature is still experimental, and we’re working on expanding support to other RDP clients soon.
Ensure that the Hoop Agent you are connecting to has the HOOP_GATEWAY_URL environment variable set to wss://hostname:port.
1
Download and Install the RDP Manager Client
2
Add new Entry
Add a new Entry and select 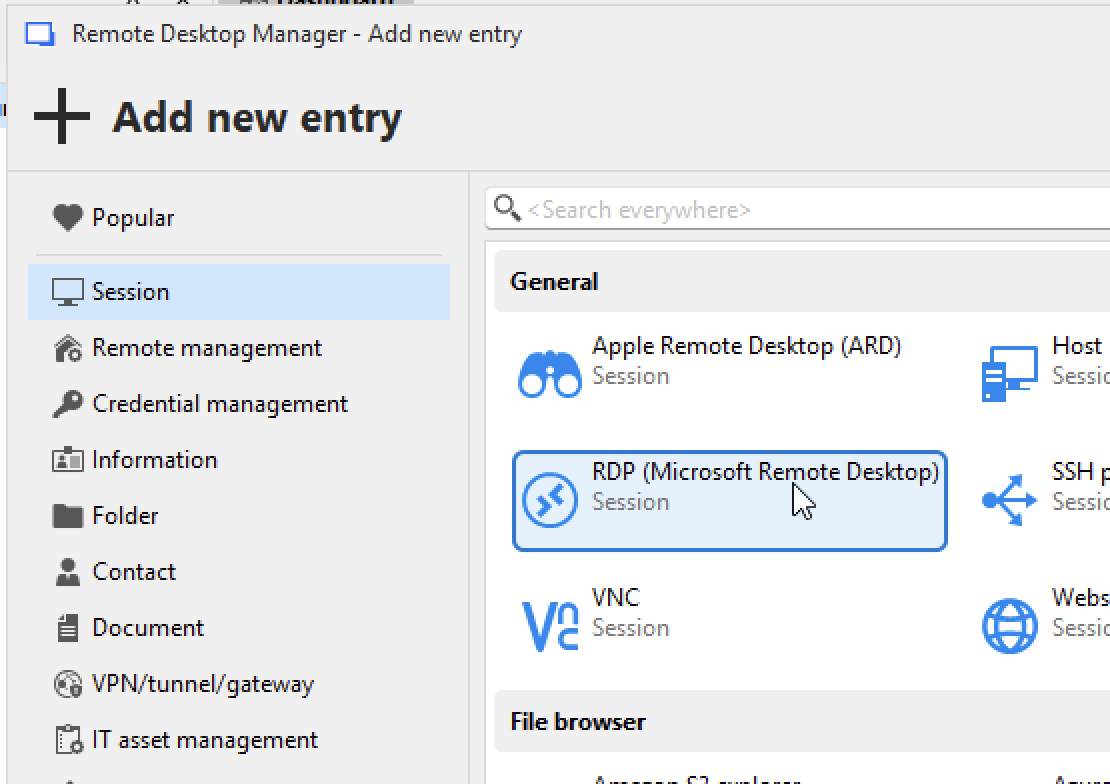
RDP (Session)3
Generate a new credential on Hoop
- Go to your Hoop instance > Resources > My Roles
- Select the dropdown “Connect” button and click in Open in Native Client
- Select the amount of time and copy the credentials information
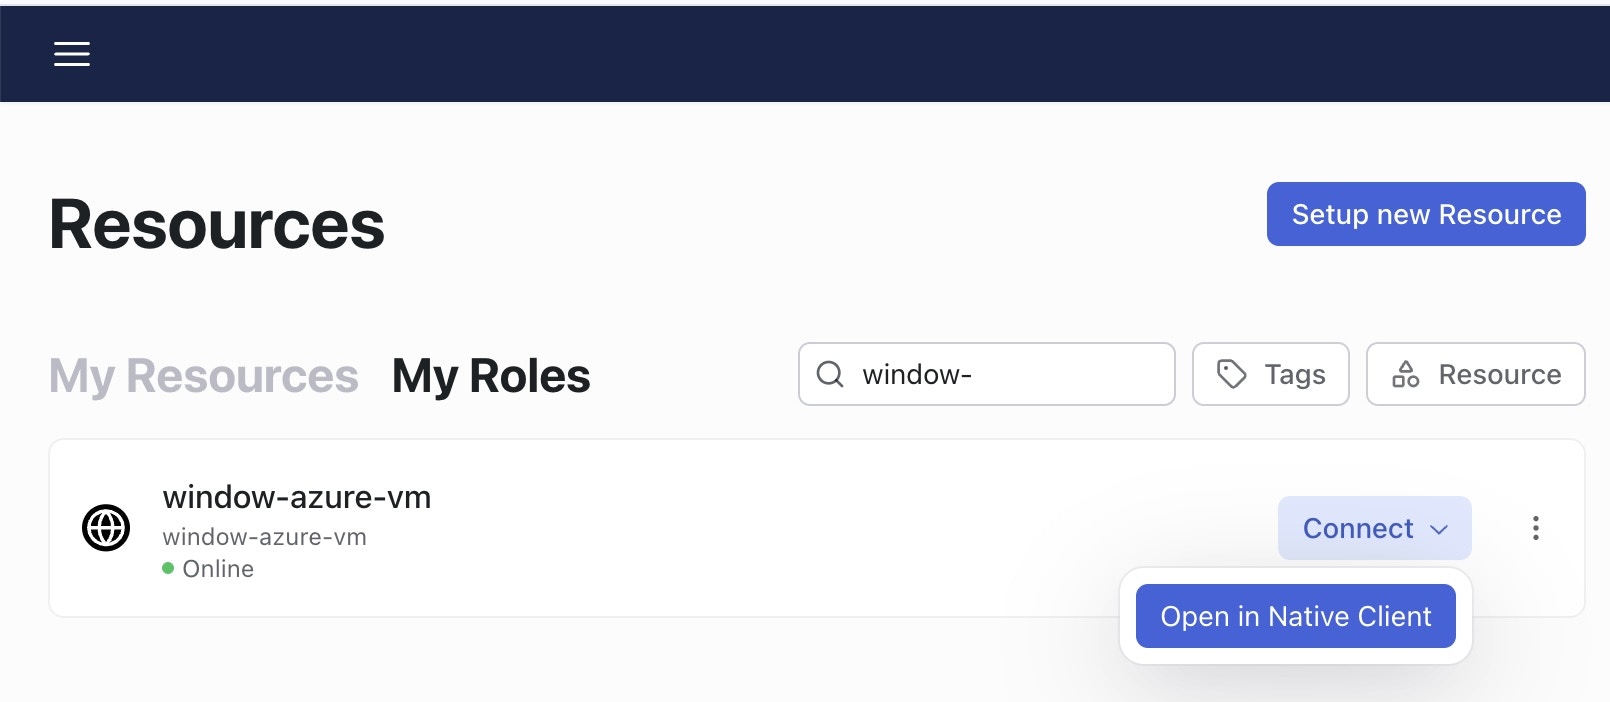
4
Add the credentials to the RDP client
- Add the username
- Add the public address of the Hoop Gateway
- Save it
Make sure to check the option “Always ask for password”
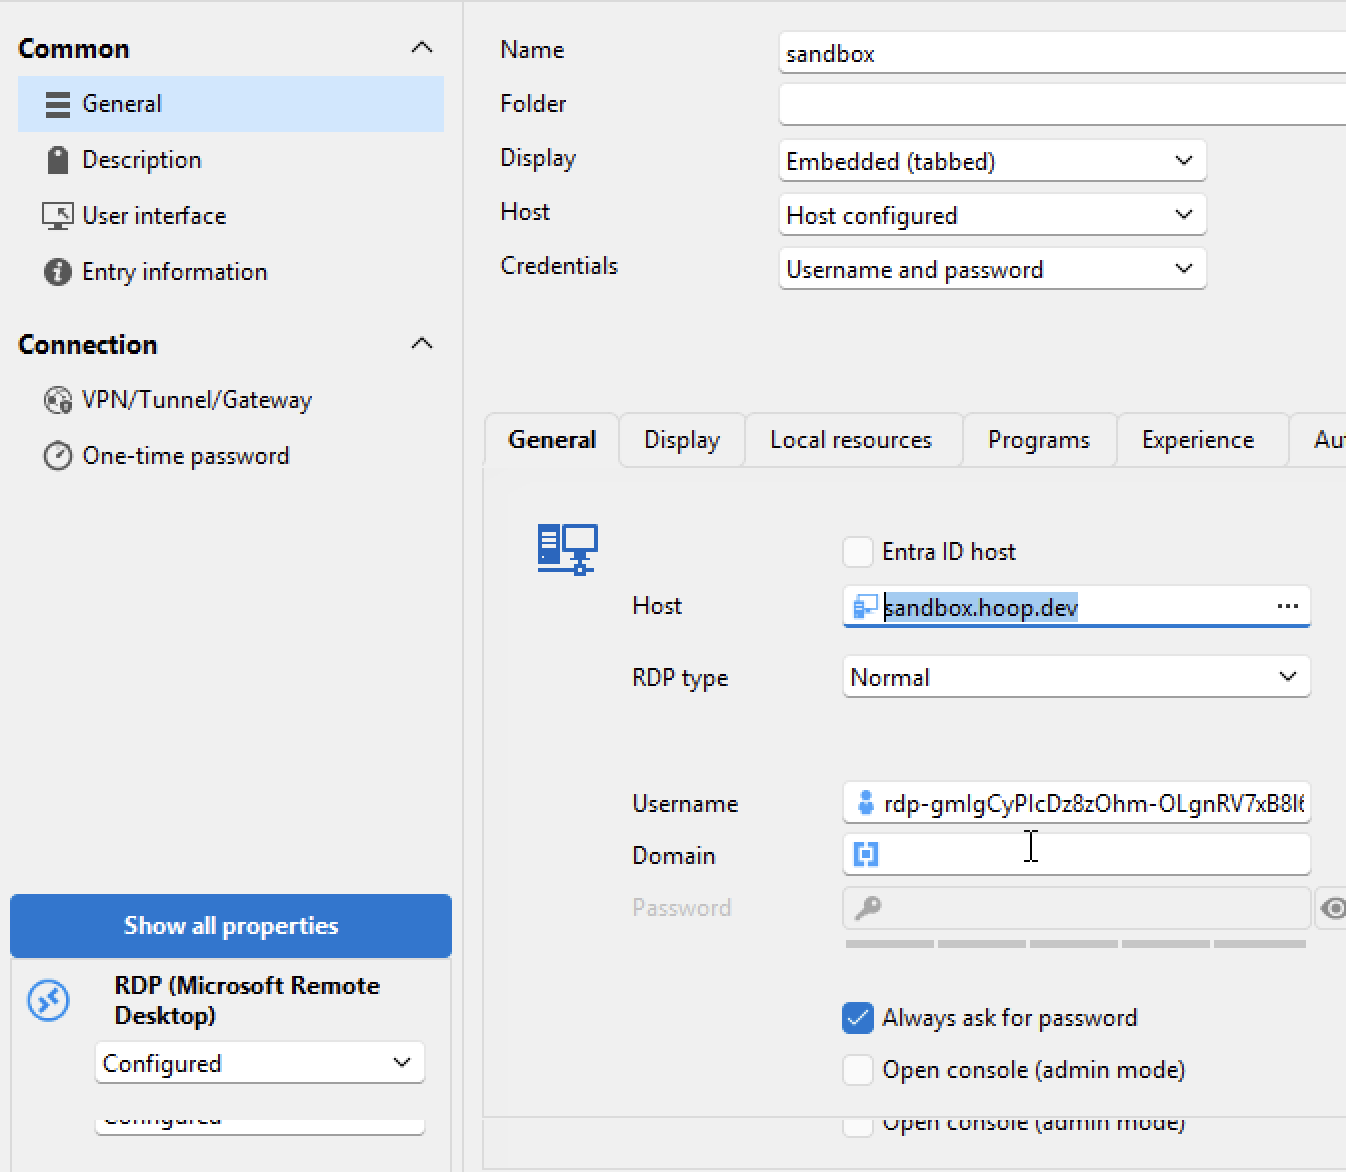
5
Connect
- Click on “Open Session”
- Paste the password and it should connect remotely with your Windows instance.